THE ONYX COLLECTION
BY HYBRIDGE LAB

Onyx / Clinical Protocols

Clinical Protocols

Esthetic dentistry should be quantifiable. These protocols give your team and the Onyx team the same records, the same measurements and the same steps, from the first photograph to cementation.

01The Onyx Workflow

Five steps, two approvals.

Every Onyx case moves through the Hybridge portal in the same order. The protocols below support each step.

  1. 01

    Upload initial records

    • Initial intraoral scans
    • Photos following the Onyx Photographic Protocol for DSD
  2. 02

    Approve the diagnostic design

    • Review in the Exocad Viewlink app
    • Receive the wax-up STL file or a 3D printed model
    • Review the Tooth Preparation Protocol for your material
  3. 03

    Prepare and upload final records

    • Tooth preparation and provisional scans, analyzed with the Onyx team
    • Photos following the Shade Selection Protocol
    • Confirm the delivery date
  4. 04

    Approve the definitive design

    • Review in the Exocad Viewlink app, then approve or suggest modifications to the Onyx team
  5. 05

    Try-in and deliver

    • Follow the Adhesive Cementation Protocol
    • Upload a scan for a night guard when applicable
02Photographic Protocol

Six views for Digital Smile Design.

Upload these views with your initial records. They become the foundation of the 3D diagnostic design.

Portraits

Portrait, high smile: full face view with a natural smile01
High smile
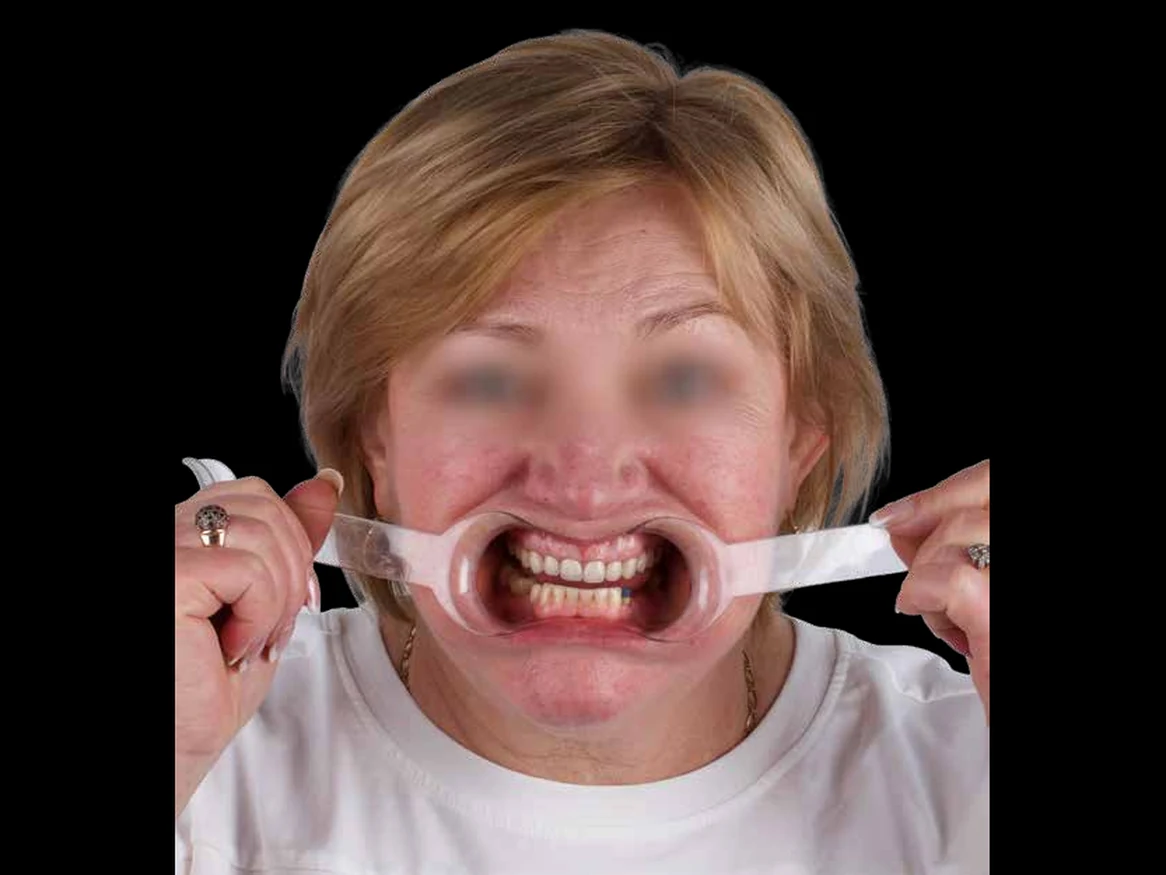
Portrait, retracted: full face view with lip retractors in place02
Retracted

Extraoral

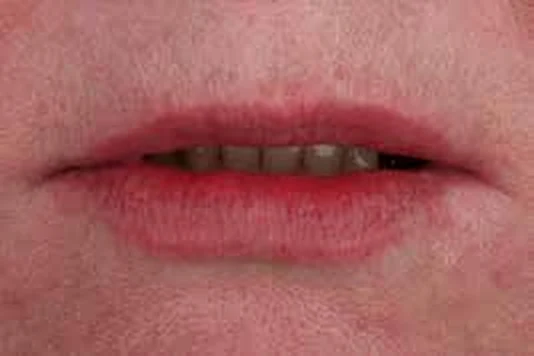
Extraoral, rest: lips at rest, close-up03
Rest
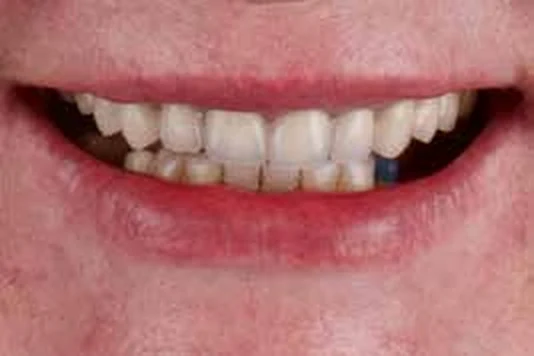
Extraoral, high smile: smile close-up showing the upper teeth04
High smile

Intraoral

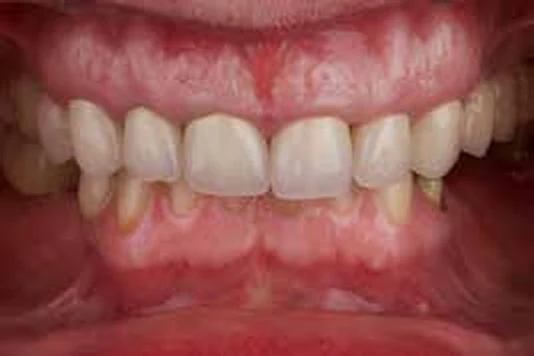
Intraoral, occlusion: teeth together, retracted view05
Occlusion
Intraoral, disclusion: teeth apart, retracted view06
Disclusion
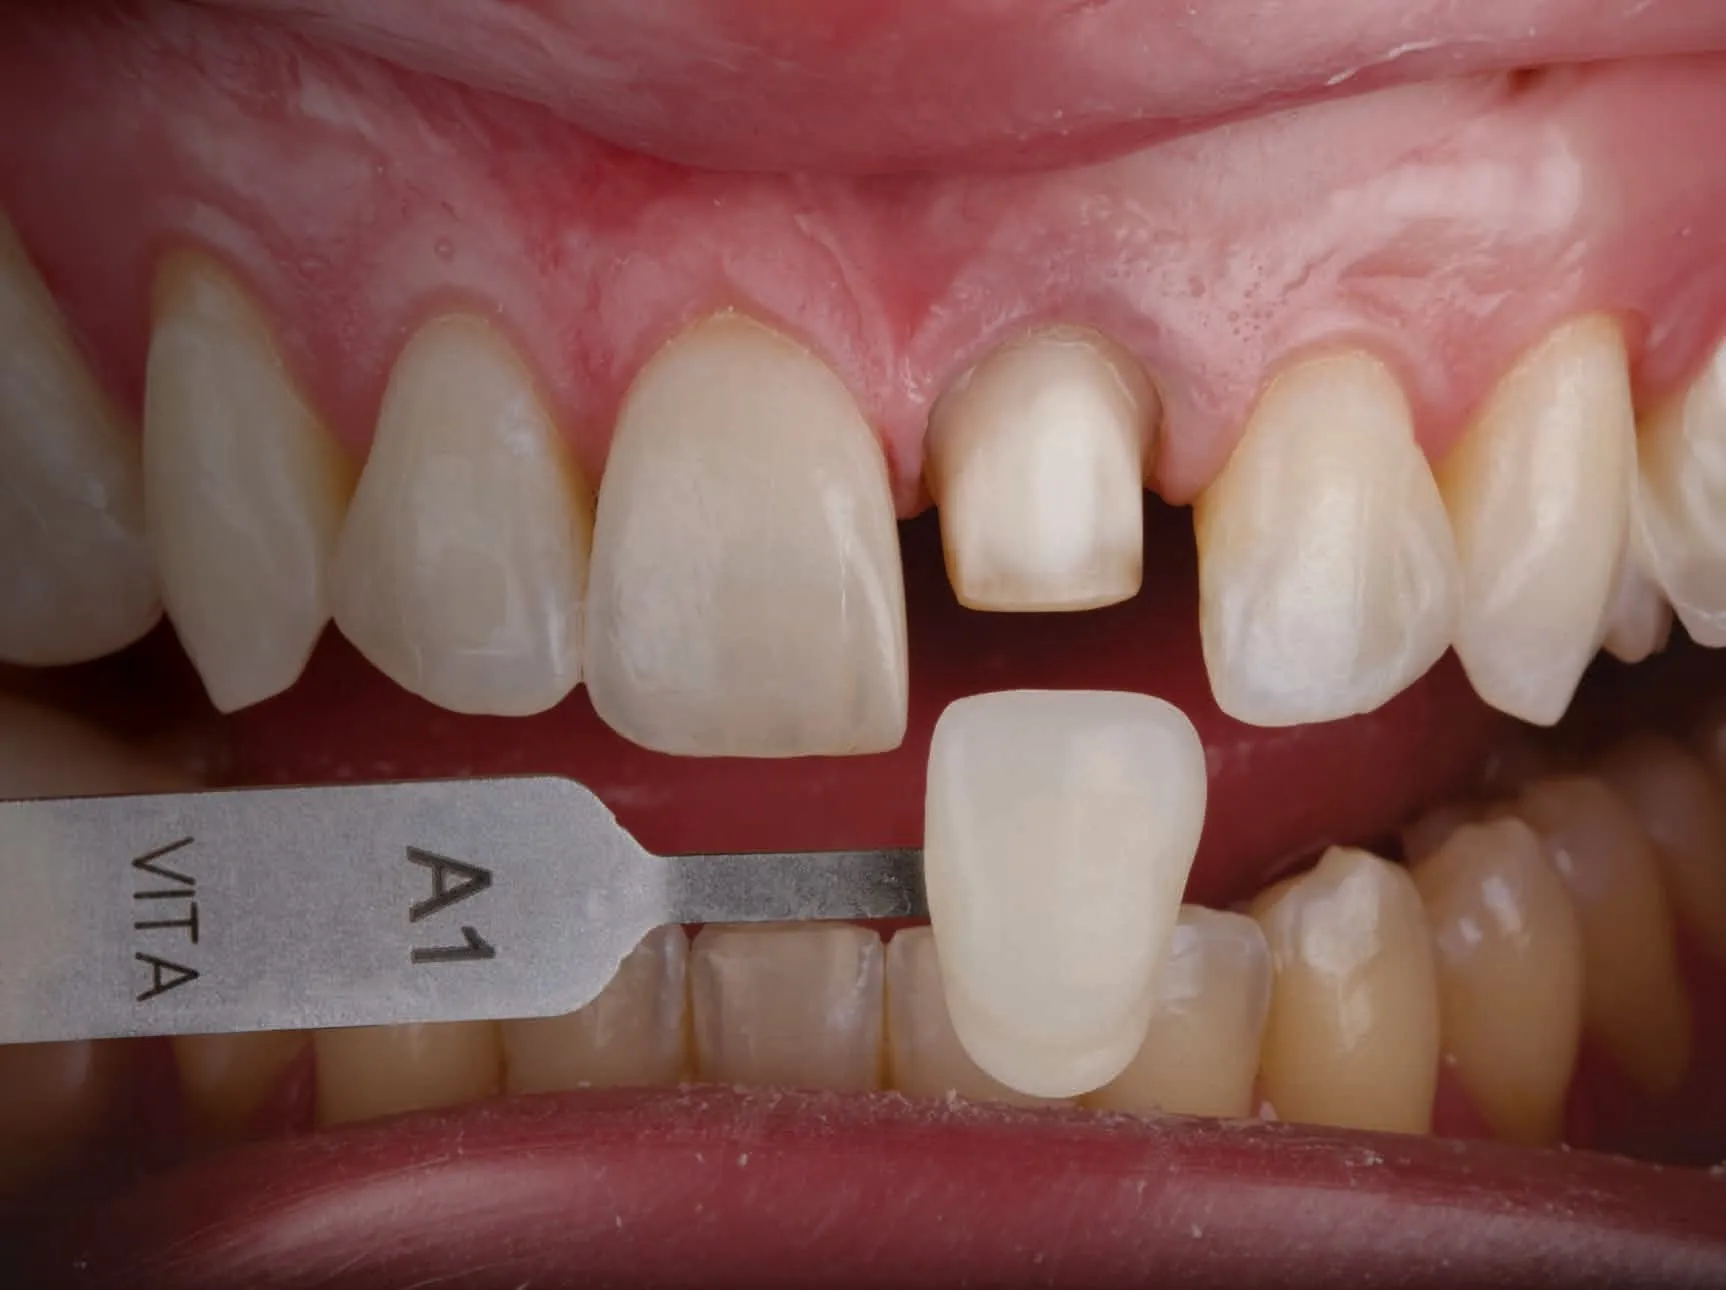
A shade tab held beside the prepared tooth and contralateral central incisor
For Shade Selection

Shade photography checklist

  • Plastic lip retractors
  • Vita Classic or 3D Master shade guides
  • Photos with the selected shade tab, before and after tooth preparation
  • Include the contralateral tooth
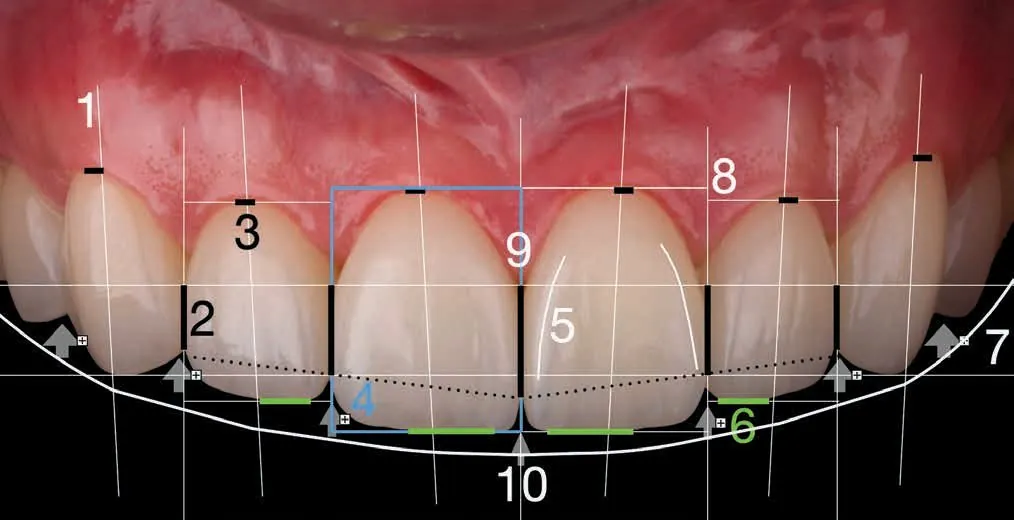
03Anterior Esthetics Checklist

Ten criteria, measured.

Anterior teeth annotated with numbered esthetic reference points
  1. 01Tooth axis
  2. 06Incisal edges
  3. 02Interdental contact
  4. 07Smile line
  5. 03Zenith position
  6. 08Gingival levels
  7. 04Tooth proportions
  8. 09Papillae
  9. 05Line angles
  10. 10Embrasures
04Tooth Preparation Protocols

Prepare for the material.

Ceramic materials for definitive restorations
Silicate ceramics
Feldspathic and lithium silicate (e.max)
Oxide ceramic
Zirconia (zirconium oxide)

Feldspathic

Indications
  • Veneers
  • Anterior crowns on non-discolored abutment teeth
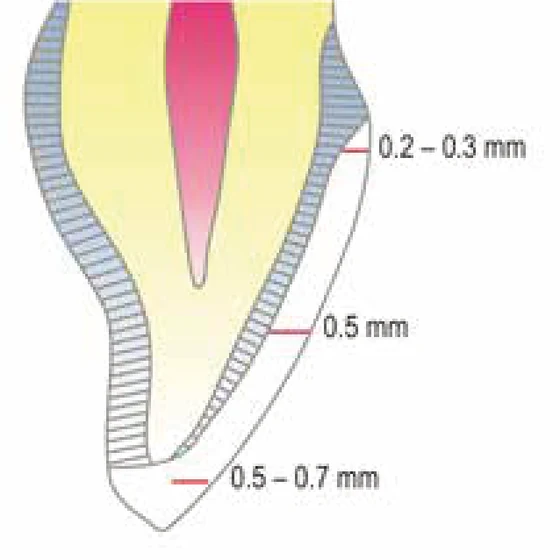
Feldspathic veneer preparation diagram: 0.5 to 0.7 mm incisal, 0.5 mm labial, 0.2 to 0.3 mm cervical
Veneers
Ceramic layer thickness
Incisal0.5 to 0.7 mm
Labial0.5 mm
Cervical0.2 to 0.3 mm
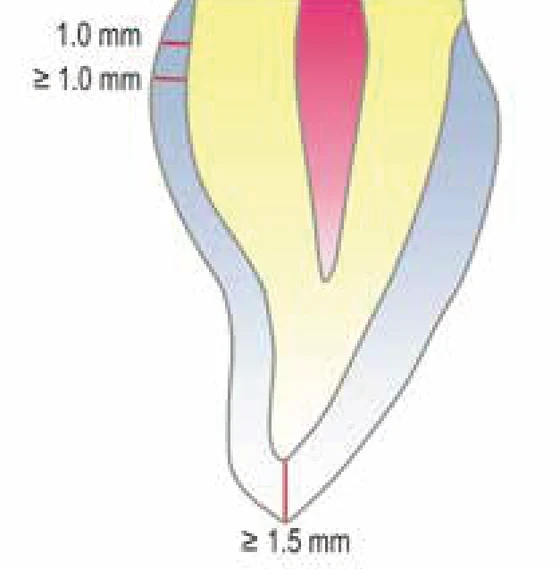
Feldspathic anterior crown preparation diagram: at least 1.5 mm incisal and 1.0 mm circumferential
Anterior crowns
Ceramic layer thickness
IncisalAt least 1.5 mm
CircumferentialAt least 1.0 mm
Crown margin1.0 mm

Lithium Silicate (e.max)

Indications
  • Veneers
  • Anterior and posterior crowns
  • Inlays, onlays, vonlays

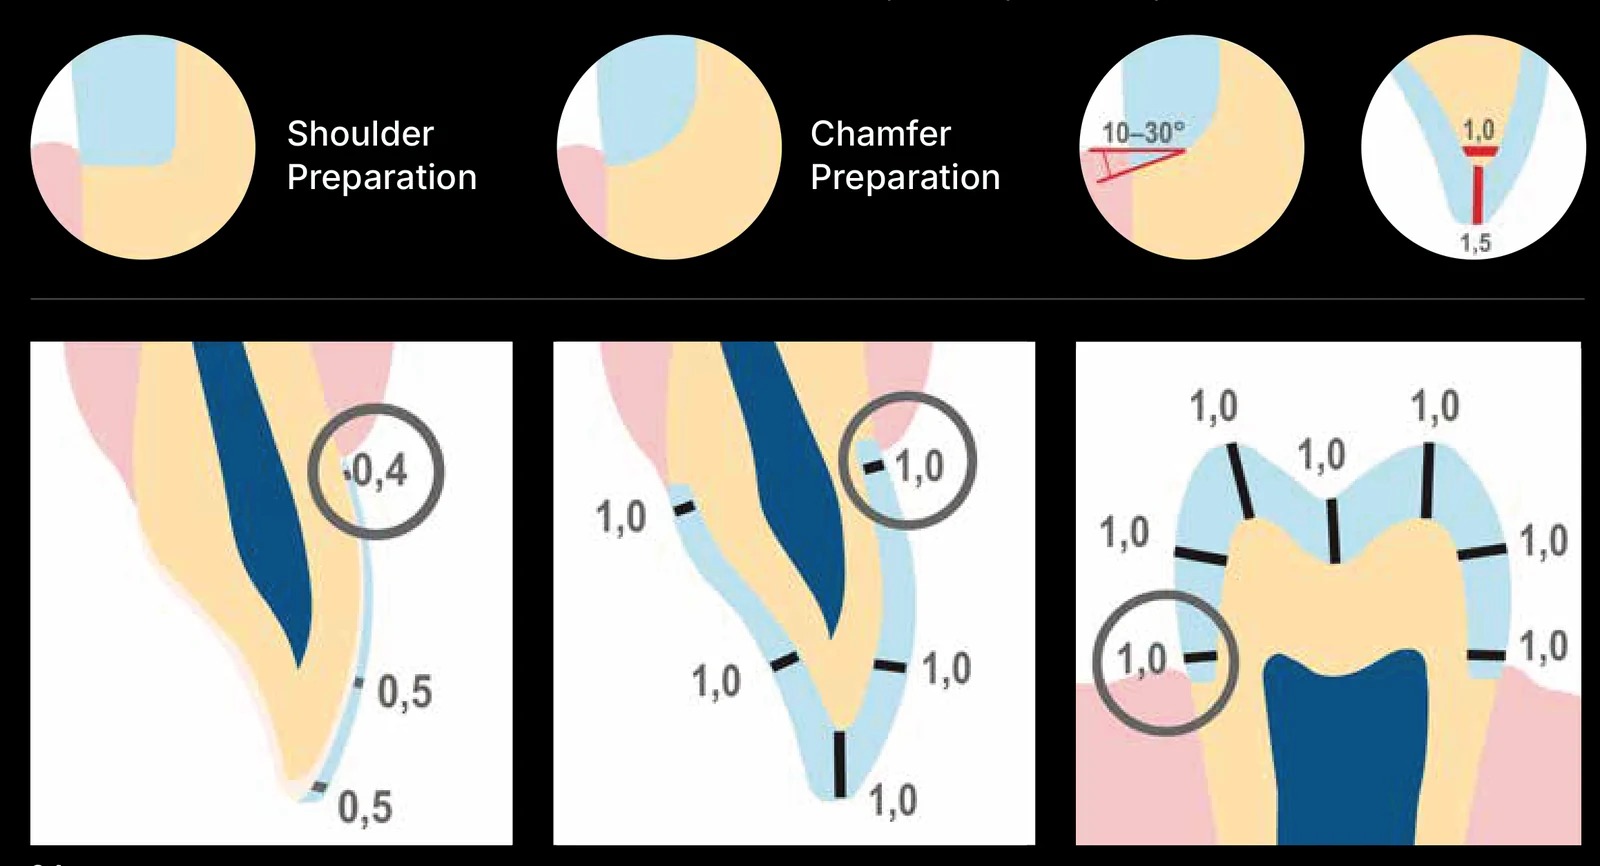
Shoulder or chamfer preparation.

Lithium silicate preparation diagrams: shoulder and chamfer preparation, with minimum reduction for a veneer, an anterior crown and a posterior crown
Minimum reduction values in mm.

Zirconia

Indications
  • Veneers
  • Anterior and posterior crowns
  • FDPs and Maryland bridges

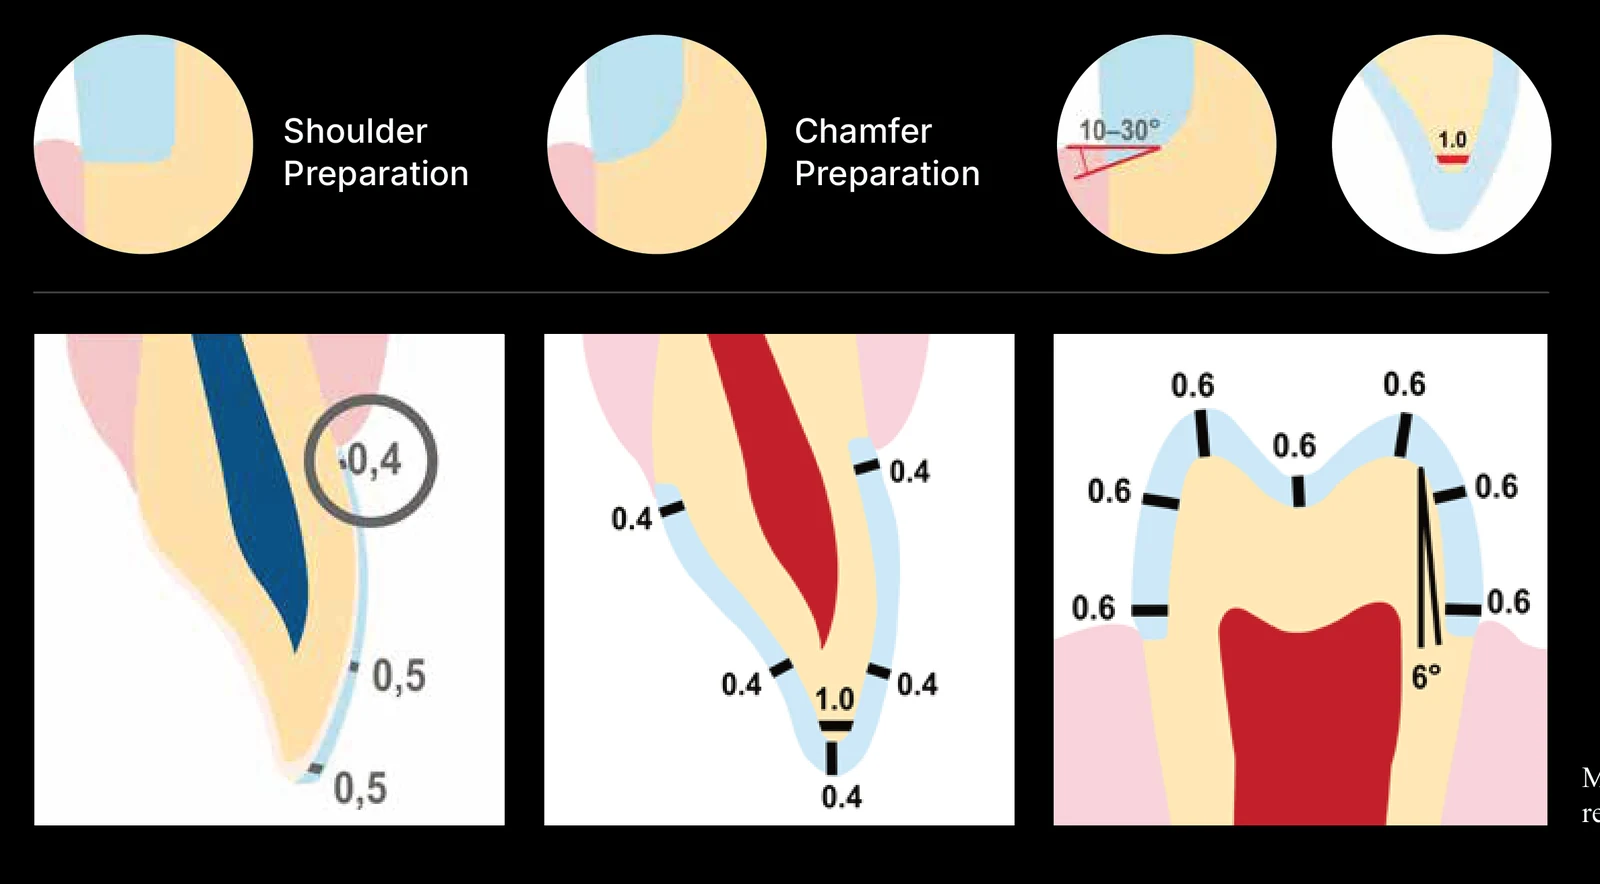
Shoulder or chamfer preparation.

Zirconia preparation diagrams: shoulder and chamfer preparation, with minimum reduction for a veneer, an anterior crown and a posterior crown
Minimum reduction values in mm.
Manufacturer’s recommendations.
Tooth Preparation Protocol (PDF)
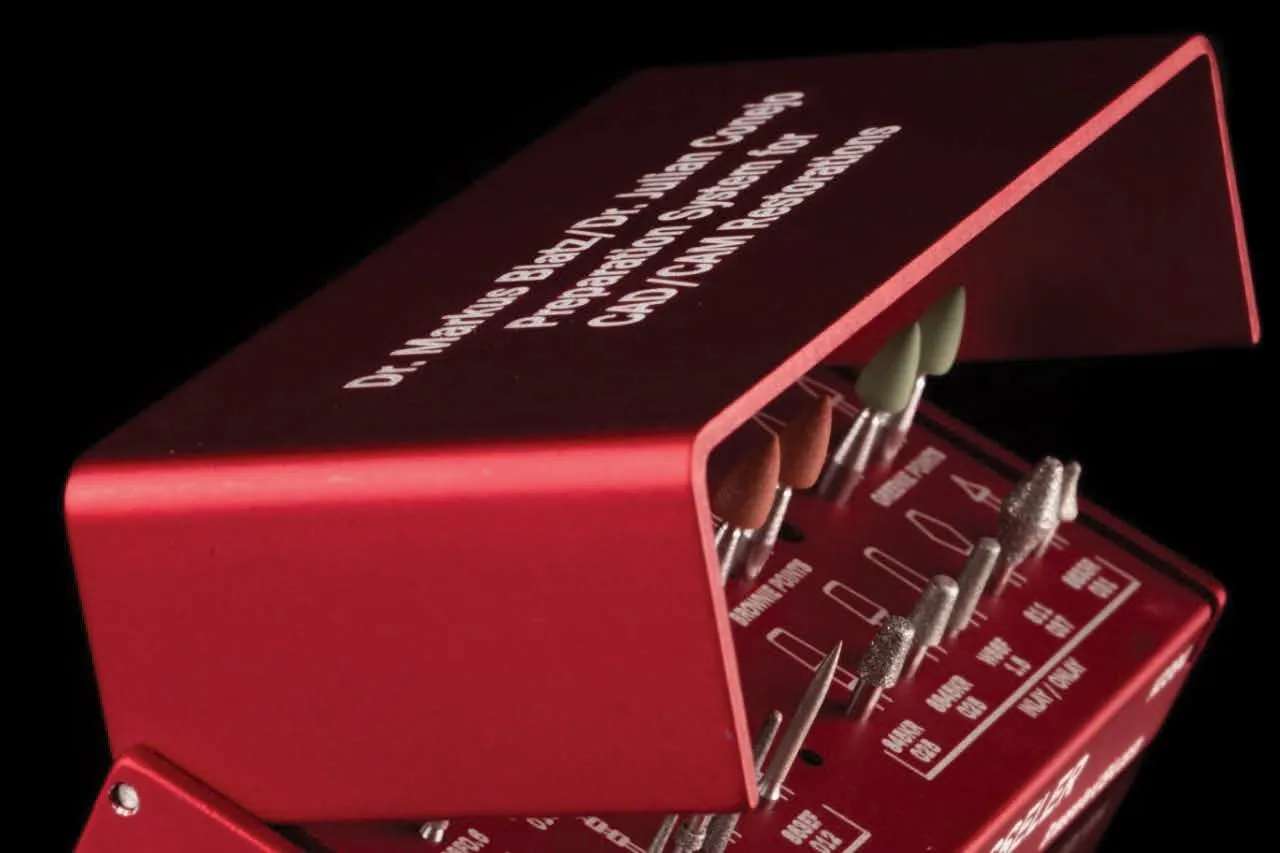
The KO394 preparation bur kit in its red case
Recommended Bur Kit

KO394 Blatz/Conejo CAD/CAM Preparation System

Brasseler USA

Final 3D Design Approval

For both provisional and final restoration designs, a brief virtual session with the Onyx team is recommended.

05Adhesive Cementation Protocol

Six steps to delivery.

Recommended bonding protocols for ceramic restorations, by material. Every restoration leaves the lab with its surface already treated, so chairside work starts at try-in.

Feldspathic and lithium silicate (e.max)

At the lab. Feldspathic ceramic and e.max restorations are already acid etched.
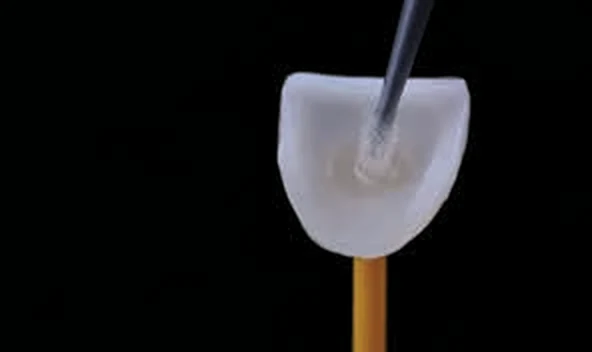
Silane applied to the intaglio of a ceramic restoration
Silane
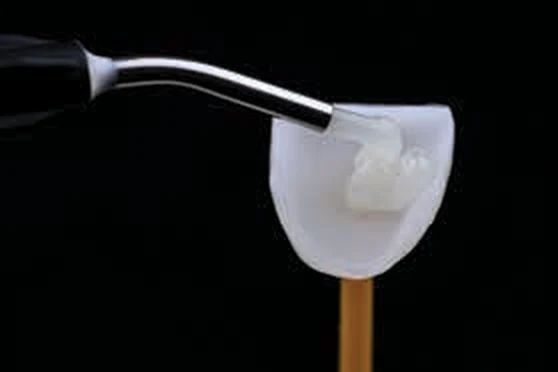
Resin cement applied to the intaglio of a ceramic restoration
Resin cement
Bonding protocol for both materials
  1. 1Intraoral restoration try-in
  2. 2Ultrasonic cleaning in alcohol for 5 min, or with a specific cleaner
  3. 3Silane application for 20 s and dry
  4. 4Proper isolation
  5. 5Pretreat tooth surfaces, per manufacturer’s recommendations
  6. 6Light-cure or dual-cure composite resin cement

Zirconia

At the lab. Zirconia restorations are already air-particle abraded.
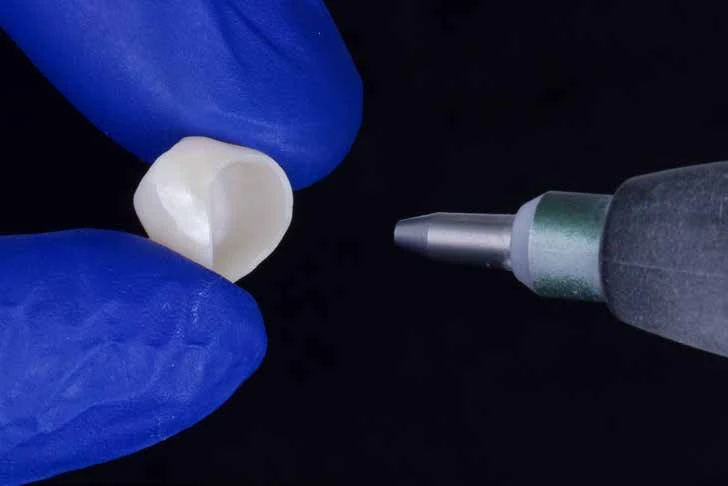
Air-particle abrasion of a zirconia crown
Air-particle abrasion of a zirconia crown, done at the lab
Bonding protocol
  1. 1Intraoral restoration try-in
  2. 2Ultrasonic cleaning in alcohol for 5 min, or with a specific cleaner
  3. 3Application of special phosphate monomer-based primer
  4. 4Proper isolation method
  5. 5Pretreat tooth surfaces
  6. 6Dual-cure or self-cure composite resin luting agent
Ready to begin

Start your first Onyx case.